Free Tutorial: How to Make Paper Quilled Earrings
Hello Friends!!
Today I thought of sharing a very interesting tutorial for
making quilled earrings. This is simple and ideal for beginners who are thinking
of trying their hand on quilling. So let’s start and have fun together.
Materials Required
(For each earring):
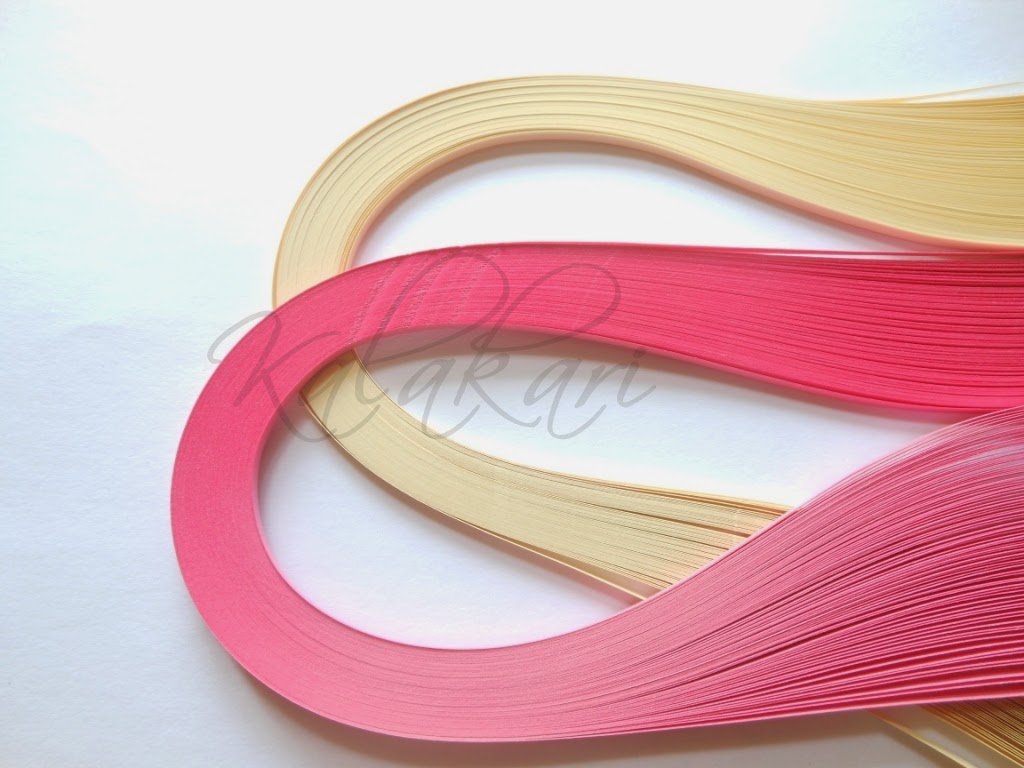
- 1 quilling strip 17” long (I used bright pink colour)
- 2 quilling strips 8” long (I used bright pink colour)
- 1 quilling strip 8” long (I used cream colour)
- 1 quilling strip 4” long (I used cream colour)
- Border buddy/Stacked tool: The round one (any 3 round object of different circumference will go as well)
- Scissor
- Glue: Any white glue
- Jump ring (not shown in the pictures)
- Earring hooks (not shown in the pictures)
Procedure:
Firstly cut the strips accordingly. Here I have mentioned
about quilling strips but you can use any paper to try your hands on quilling
though readymade quilling strips will give a smooth finish and it will be less
time consuming to use them for any project.
For the biggest circle you need to join the 17” bright pink
strip with the 8” cream strip with just a dot of white glue. Always use the
glue in little amount otherwise after you complete your project you will have
white shiny flakes of dried glue all over your earrings which are almost
impossible to remove.
For the medium circle you have to join the 8” bright pink
strip with the 4” cream strip with glue.
For the smallest circle you need the 8” bright pink strip
only.
Now all your strips are ready. Here comes the fun part. Take
the longest strip and with the help of your border buddy/stacked tool make a
big circle.
Here you can see in the first picture I have just started to
make the circle. Wind the strip around the border buddy and secure the end with
a dot of glue. Then roll the strip along the border buddy and the circle become
thicker. To finish up the circle, secure the end of the strip with another dot
of glue. You should keep the light colour strip inside.
Now take the medium length strip and follow the same
procedure as stated above and make a circle of smaller circumference than the
first one with the help of border buddy.
Lastly you have to take remaining 8” bright pink strip and
follow the same procedure as stated above and make a circle of even smaller circumference
then the second one with the help of border buddy.
If you don’t have border buddy, you can use any 3 round
object of different sizes.
Once all your circles are ready make another set of circles
for the 2nd earring (off course
you have to make two earrings!!).
See how cute these circles are!Now you just need to add a dot of glue inside the biggest circle
and attach the medium one inside it and with another dot of glue attach the
smallest circle inside the medium one. And your earring is ready!!!
Now you have to apply a sealer and varnish to all sides of
the earring. It will give the earring a smooth and shiny finish and will also
make it sturdy (See the purple earrings with varnish). Now add a jump ring and
earring hook and your very own handmade earrings are good to go. The great
thing about these earrings is that you can make them in any colour combination
you want to match with any outfit. They look casual and stylish. Wear them and
flaunt them. Here you can see I made them in another colour.
If you liked the tutorial please leave a comment. If you make these earrings, do share a picture with me. I will be really happy to see your projects. Happy quilling!!


Comments
Post a Comment